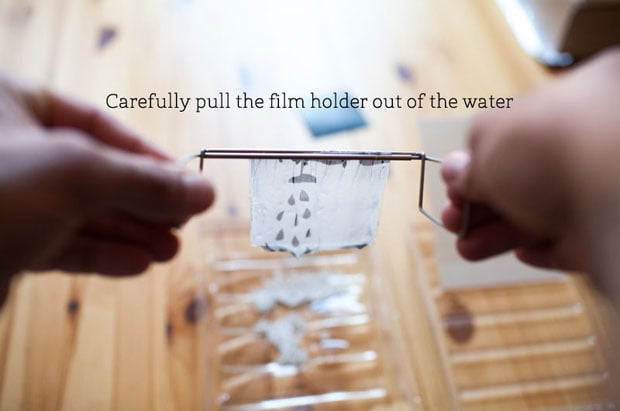
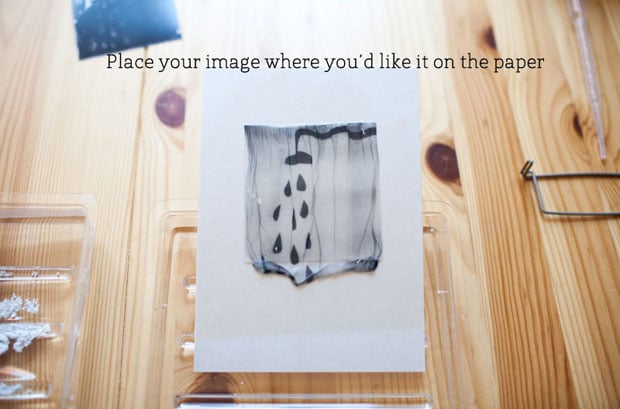
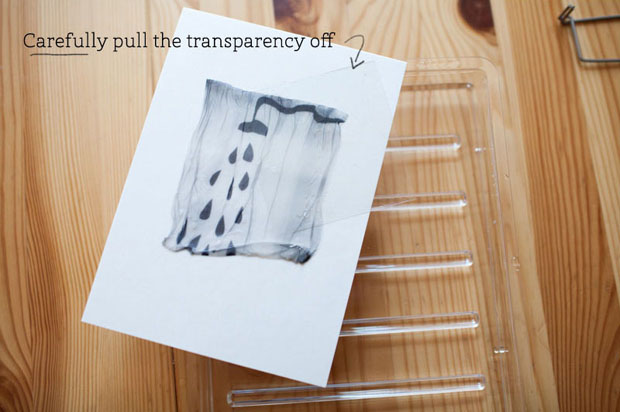
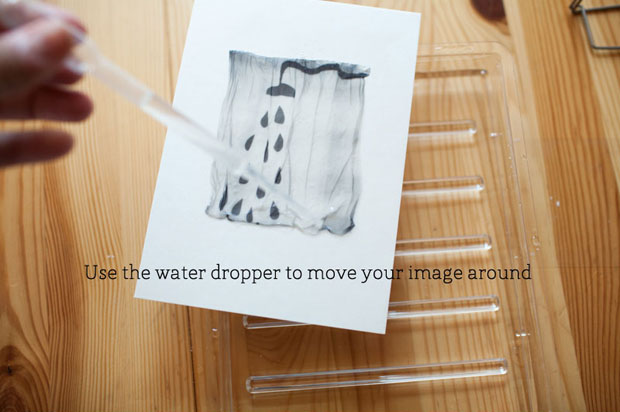
How it worksJellyfishphoto may share some similarities in handling to the Polaroid emulsion transfer method—it’s clever name comes from the ‘jellyfish’ appearance the emulsion takes on in the tray—but it relies on pigmented digital inkjet ink to create the color or black and white image. The ink is printed onto a receiving layer and that in turn is adhered to a transparent polyester base with a water-soluble adhesive. The digital transparency is soaked in cool water for approximately two minutes. When it is softened, the emulsion aka the ‘jellyfish’ is gently lifted and re-applied to the substrate of your choice. Besides the final substrate such as fine art paper, all you need is a tray, cool water and a table to work on.
https://www.youtube.com/watch?v=xx4eSk7zKcM
Monday, February 6, 2017

polaroid transfer
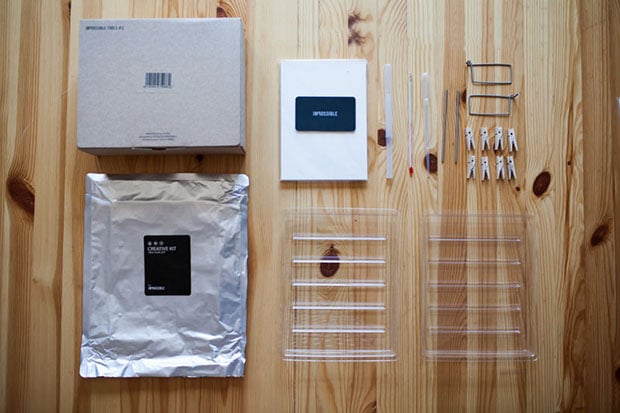
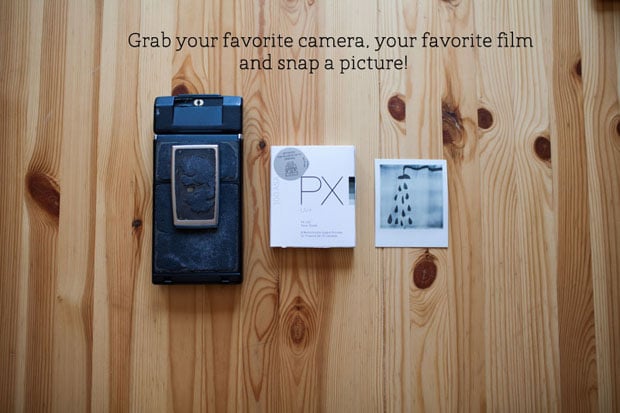
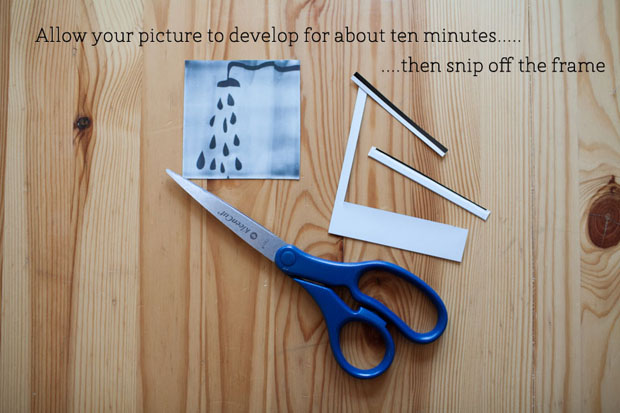
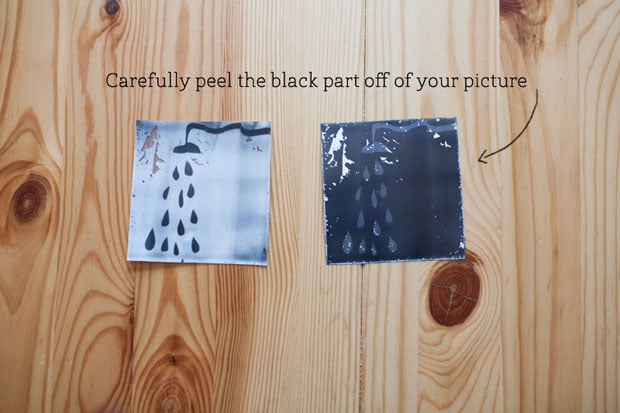
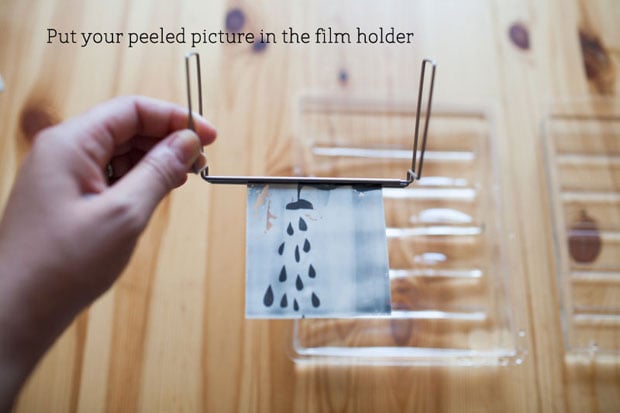
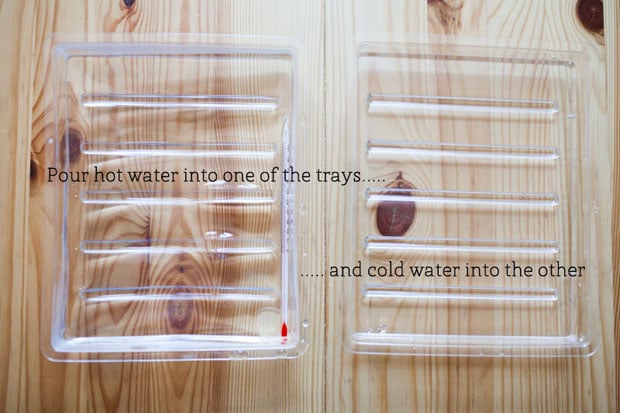
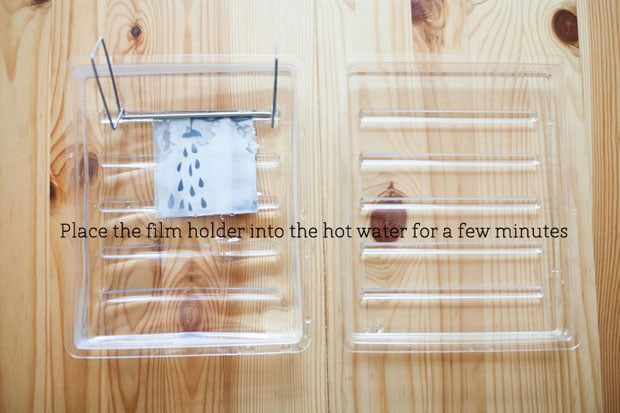
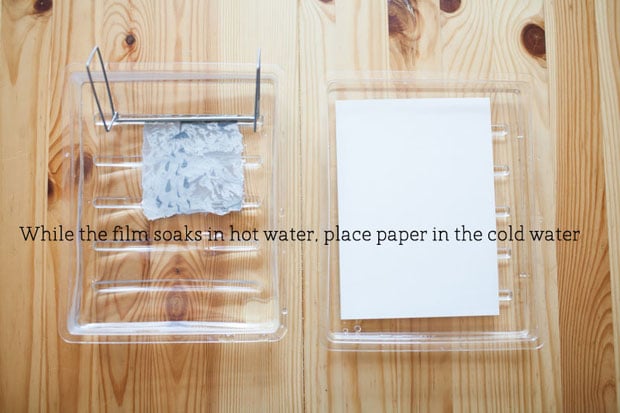
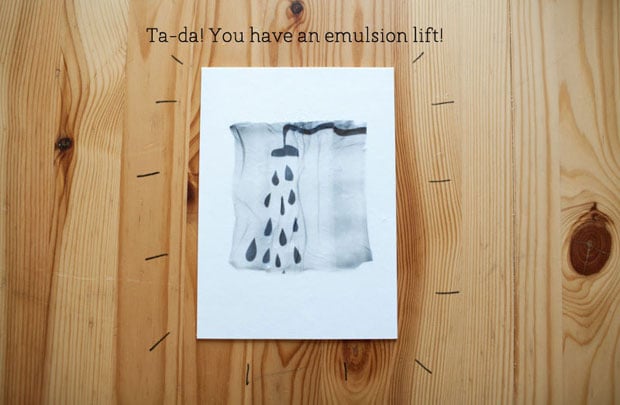
Earlier this year I tried Polaroid emulsion lifts for the first time. An emulsion lift (or emulsion transfer) is when the emulsion layer is removed from a sheet of instant film and then transferred to a different surface.
I’ve always thought they would be hard to do and was surprised at how easy and fun it was, so I thought I’d put together a little step by step guide to making instant film lifts!
DIY: Make Easy Photo Transfers on Wood
Why Wood I Do This?
Photo transfers are a neat and pretty cheap way to get your favorite pics on the some of the coolest material around—wood!
As a super-hands-on DIY, you can really make this project your own based on how you want your photo transfer to look–distressed and textured, or supa-clean and smooth.
You can also transfer the photo love—these would make lovely gifts for friends, and they’d be fun to make with friends.
Plus, this DIY would make for an epic weekend of craftery—especially for those long, rainy ones!
Ze Ingredients:
Lovely photos to transfer
Light-colored wood piece or panel
Simple photo-editing program
Access to a laser printer
Scissors
Bone folder (edge of a gift card works)
Matte gel medium (found in the acrylic paints section of the art store)
Mod Podge with your choice of finish (we went with matte)
2 different brushes (can be bristles or foam)
Towel rag
Scrap paper & towels to protect your work surface
STEP 1: Put It in Reverse
Open up the photo file you wanna use for this transfer in a photo-editing program and reverse it.
Why in reverse? You’re going to be laying the photo face-down on the wood surface you’re transferring it on, so you want your photo to end up facing the right way when it’s revealed on the flip side.
Check that your photo is set at 300 DPI so that it won’t print out all pixelated.
Don’t forget to also size your photo to fit on the surface of your wood piece. In our case, we made sure our photo of rad cacti will fit nicely on our oval wooden plaque.
Psst—we got our wooden plaque at Jo-Ann’s, and the small wood squares at Michaels. For bigger pieces or to get custom-cut pieces go to home improvement places like Home Depot.
STEP 2: Laser Print it Out—Pew, Pew!
Get your reversed, properly-sized, 300 DPI photo printed from a laser printer on fairly thin paper (like 24 lb paper, for you paper nerds).
You want your photo printed on thinner paper because this’ll make it easier in Step 8 when you’re going to rub the paper fibers off.
We got double prints of our photos just in case our scissors go hay-wire in the next step.
STEP 3: Scissor Action
Cut out the laser-printout of your photo.
Be careful; scissors can get pretty sassy sometimes.
STEP 4: Gel It Up
First, cover your work surface with some scrap paper.
Then take one of your brushes and use it put on a thin layer of matte gel medium right on top of your photo.
STEP 5: Flatten It Out
Now, very carefully lay your photo face-down on top of your wood piece.
Once you got your photo in place, use a bone folder (or the edge of a gift card) to smooth out and flatten any air bubbles underneath your photo.
Wipe off any extra gel medium that seeps out of your photo’s edges as you’re smoothing it out.
STEP 6: Let It Dry
Now it’s time to let your photo transfer sit and dry for at least 8 hours.
Depending on when you started this DIY, you may pick up on this project the next day. In any case, it’s time to take a break—go snap some more awesome photos or bake yummy dinosaur-shaped cookies.
We also think this would also be the perfect time to catch up on Photojojo’s phoneography blog or Tumblr… :)
STEP 7: Soak It Good
Once your photo transfer has been out to dry for 8 hours or so, it’s time to give it a good water-soaking.
First, protect your work surface with some fun towels.
Then take your towel rag and get it wet with some water.
Squeeze out excess water from your rag—you don’t want a sopping wet rag—and lay it on top of your photo transfer.
Press the wet rag on top of your photo transfer, making sure the photo in the transfer is completely soaked. You can also just let the wet rag sit on top of the transfer for a couple of minutes if you’d like.
STEP 8: Rub-A-Dub-Dub
First, put on some good jams. This part needs to take its sweet time.
Now that your transfer is soaking wet, use your rag and/or your fingers to rub off the fuzzy white paper fibers and to reveal your lovely photo underneath.
For a distressed look to your transfer, use the wet rag to rub off the paper fibers. The rag’s own fibers will also rub off a bit of your photo that’s revealed.
For a less-distressed, cleaner look, use your fancy fingers to rub off the fibers.
Let the transfer dry a bit in between paper-rubbing sessions so you can see any paper fibers that still need to be rubbed off.
In our experience, the best consistency for being able to see and peel off the fuzzy fibers is when your photo transfer is almost dry.
FYI: Depending on how large your photo transfer is, this step may take a while. Our small oval plaque took us about 30 minutes of paper peeling to get to our liking. If anything, don’t rush it, lest you ruin all your hard work up until now.
STEP 9: Dry It Some More
You’re almost done, hooray!
Let your photo transfer completely dry.
Again, if you notice as it’s drying that there are some fuzzy fibers you missed (like our photo shows), you can always go back and moisten your transfer a bit to rub the fibers off some more.
STEP 10: Mod Podge It Up
Once your photo transfer is dry and satisfactory to your creative eye, use the Mod Podge and your other brush to seal your hard work.
That’s it! Your photo transfer is done and ready to be the limelight.
Thursday, October 27, 2016
Warhol


I believe warhol would make political work about this crazy election (probs some donald trump themed works).
Sunday, October 16, 2016
Self Portraits

Picasso Self Portrait Facing Death (June 30, 1972), crayon on paper

I've Got it All (2000) by Tracey Emin. Photograph: Neville Elder/Sygma/Corbis

Wanda Wulz "Io + Gatto (self-portrait)"

Andy Warhol (American, 1928-1987)
Self-Portrait, 1978
acrylic and silkscreen ink on linen
40 x 40 in. (101.6 x 101.6 cm.)
Stab Binding


EXIT = needle pointed DOWN and ENTER = needle pointed UP
=====
enter 1 (leave a tail, but don’t knot it), wrap around spine
enter 1 again, wrap around right edge
enter 1 again
exit 2, wrap around right edge
exit 2 again
enter 3, thread needle through loop from 1, point RIGHT
enter 3 again, wrap around right edge
enter 3 again
exit 4, wrap around right edge
exit 4 again
enter 3
exit 2
enter 5, wrap around right edge
enter 5 again
exit 4
enter 5
exit 6, wrap around right edge
exit 6 again
enter 4
exit 6
enter 5
exit 2
enter 1
exit 7, wrap around spine
exit 7 again, wrap around left edge
exit 7 again
enter 8, wrap around left edge
enter 8 again
exit 9, thread needle through loop from 7, point LEFT
exit 9 again, wrap around left edge
exit 9 again
enter 10, wrap around left edge
enter 10 again
exit 9
enter 8
exit 11, wrap around left edge
exit 11 again
enter 10
exit 11
enter 12, wrap around left edge
enter 12 again
exit 10
enter 12
exit 11
enter 8
exit 7
tie off
Tuesday, May 31, 2016
Monday, April 25, 2016
Urban landscape
Joel Tjintjelaar
Joel Tjintjelaar is an award winning B&W fine-art photographer from the Netherlands. His work has been published on many online websites and in magazines like American Photo, Black + White Photography magazine UK and Dutch magazine Digifotopro to name a few. The artist loves Black and White photography because with the removal of color the essence of objects, situations, scenarios and people can become more visible. http://www.photographyoffice.com/blog/2011/06/the-art-of-black-and-white-photography-by-joel-tjintjelaar


https://www.flickr.com/photos/tjintjelaar/
Alessio Trerotoli
I am an italian photographer, born in Rome. Graduated in 2009 in Disciplines of Arts and Cinema, in the same year I started to travel in Europe and in America, taking pictures and making experiences. My first exhibition was in 2010, since then my pictures were shown in several italian galleries. In 2012 I published my first book, “Fuori dalla caverna”, with notes and pictures of my travels and at the end of the same year I began my most important project, "Urban Melodies", where I depict, through superimpositions, an abstract vision of urban scenes from modern metropolis like Rome, New York, Paris, Berlin and many others. In 2013 I won Abstracta Festival with the picture "There is a light that never goes out" and the year after I won another prize in Urban International Photo Contest. In 2015 I realized other projects like "Roma Coast to Coast", a 21km walking trip through my city, and I finished my first 365 Project on Instagram. My "Urban Melodies" project has been featured by Fubiz, The Phoblographer, SRL Lounge, Neoprime Mag, Camerapixo and others international webmagazines. Now I live and work in Rome, waiting for the next travel… http://www.alessiotrerotoli.it/aboutme.html


Jieun’s personal feelings are described in the form of painted ink marks or better described as calligraphy, which are instinctively spread and dropped on the surface of the paper. She then starts creating comparatively realistic images of the cities within the abstract ink marks, adding colors to convey the emotions she felt at specific moments of her trip – be it happiness, loneliness or eagerness.
Jieun’s cityscapes are at times dull, yet there is something that shines through; and though there are no signs of people living in the beautiful cities in her works, the expression of light, color, greenery and skyscapes makes her work alive. She also recalls moments where she felt emotionally overwhelmed and strong feelings of loneliness as she looked down upon the cities from a vantage point. She adds, our cities are changing very fast while we are busy with our lives. Hence, the dull feeling of the buildings portrays the people in hectic daily life, where she believes only meaningless everyday conversation exists. http://www.redseagallery.com/artists/jieun-park/featured-works?view=slider


Fan Ho

Herbert Bayer

Tom Manley
Sunday, April 17, 2016
Landscape Photography
Artist and landscape images I like:


Michael Kenna

Mark Schneider Design

Edward Weston
Definition of natural beauty: Unrefined uncontrolled raw moments of inhuman creations nature presents.
EG:

Ansel Adams
My experience: I was backpacking with a friend in the Goat Rocks Wilderness. We went on a 15 mile day hike the second day up to the top of Old Snowy, a mountain. After reaching half way my mother got tired and decided to go back but my friend and I decided to make it to the top. We finally reached the base area of the mountain and looked up. The mountain was huge, looming over us. I could make out two small specks of hikers making their way down the steep slope. An hour later we made it to the half summit after an exhausting struggle up the trail. The last half mile we climbed on out hands and knees up a wall of loos rocks along the final ridge. Finally we made it to the top. Standing on the tip of the mountain I could see the entire world. Green forest rolled over hills like a carpet. Snow coated the tips of tall mountains. Below us Goat Lake was an opaque turquoise gem, shimmering in the sunlight. My breath was taken away. No human could ever create something quite so beautiful. This artwork could only be made by thousands of years of changing nature, perfect and uncontrolled.
Friday, March 11, 2016

Friday, March 4, 2016
Visual Metaphors

Andy Warhol
A) I am Andy Warhol. I was getting ready this morning, pulling on my pants, when my underwear caught on the door knob of the bathroom and ripped. I was so mad that I just stormed out of the bathroom without pulling up my pants. Why even bother, they'd probably rip too. I looked in my bag for a new pair of underwear and found my favorite record sticking out so I grabbed it to play while I finished getting dressed. That was when my roommate laughed and said "hey", looking at me with my pants down, "that would make a good photo". So I set up my camera and took the photo. I am still annoyed and my face shows it. I made Mike stand in the background of the mirror because it was his idea to take the photo.
C) I am Sydney Denham. I immediately connected to this photo. Andy Warhol's exposed rear end brought me back to a fond memory of mine similar to what I perceive happened in this image. I was at my friends house and bent over to grab my backpack when my pants ripped down the seam, revealing a good twelve inches of polkadot underwear. I had to run around the house covering my hinny to escape the cameras and laughing faces of my friends. Andy and I have a lot in common, although my underwear was not ripped. I can also relate to the annoyance that Andy obviously felt in this situation.
Thursday, February 25, 2016
Henri Cartier Bresson-The Decisive Moment


Henri Cartier Bresson was born in 1908 in Chanteloup, France. He traveled around the world photographing culture and war. He was a major artist of the twentieth century. He went to school in Paris and Cambridge University to study the arts. He photographed in Africa and loved to photograph with a naturalist style- no artificial lights or props. In the 1930 he had work in Mexico, New York and Madrid galleries.
Subscribe to:
Posts (Atom)